Hand quilting is a great way to add a personal touch to any handmade quilt. Generally, hand quilted quilts are durable and last for years. Hand quilting also gives your quilt an authentic antique look. Here are good suggestions for using quilting frames.
Quilting frames are a good way to quilt when you have someone to help you quilt.
Tip #1: Preparing the Quilt for Placing on the Frame
If your frames don’t already have them, make dots on them about 3 inches apart. Start from the same point on each board. If you number the dots, you won’t need to count the dots when you put your quilt on.
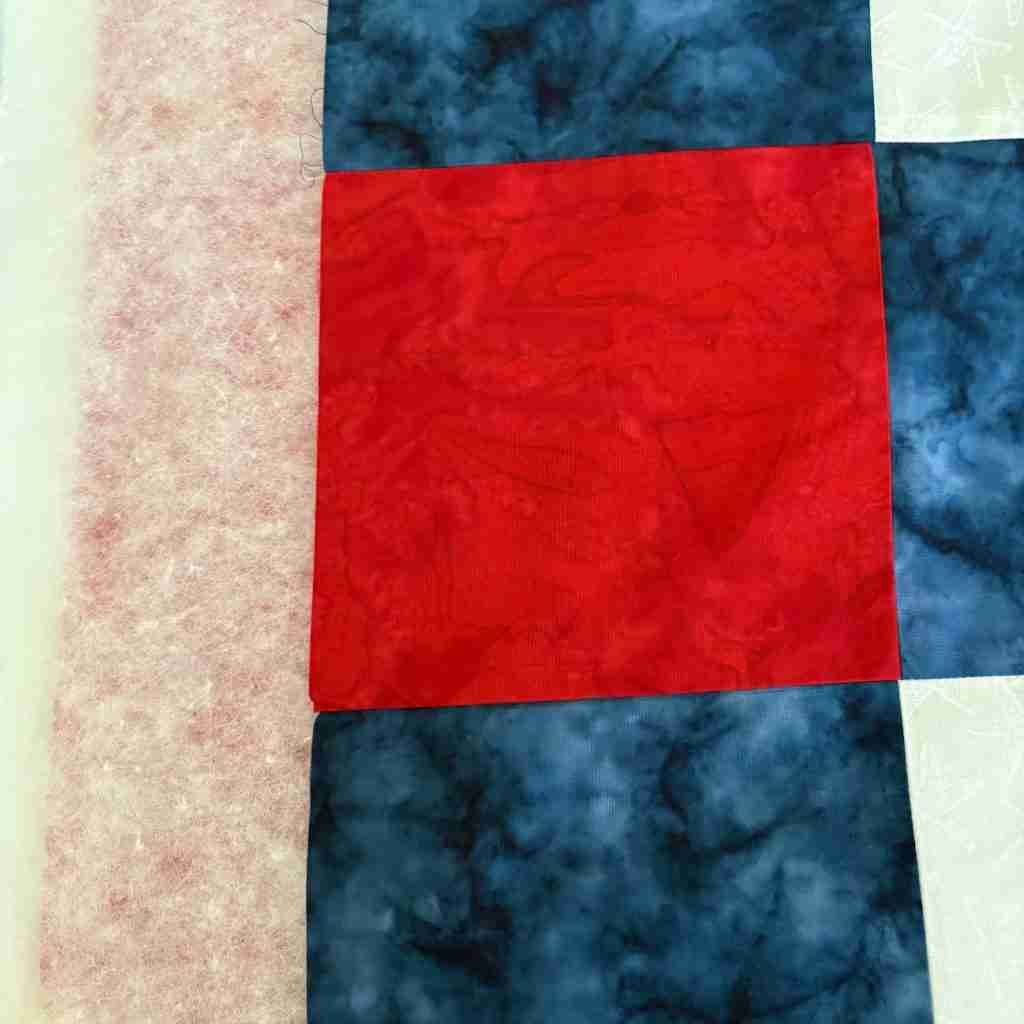
Tip #2: Quilt Backing Preparation
Make your quilt backing about 1 to 2 inches larger than your quilt top. This will make it easier to put on frames, and easier to bind.
Tip #3: Folding Edges of the Quilt
Folding over the edges of your quilt top and backing about ½” before you put tacks in will keep the fabric from tearing if it gets pulled on.
Tip # 4


Prop your frames up in a square shape on the flat backs of chairs or similar sturdy prop. Make your square close to the size of your quilt. You need two people to do this. With each person on the opposite side of the square and the same end of the frames, put the quilt backing over the frames with right side down.
Fold the corner over about an inch on each side and tack it to a dot on a board that is on top. Do the same on the adjacent corner, tacking it to the same number as the other board. Continue on down the board about every 6 inches until you have two sides of the quilt backing completely tacked. Pull the backing tight and clamp the upper boards to the lower boards. Make sure you clamp them on the same numbered dot from the end, to keep your quilt square.
Tip #5
Lay your quilt batting on your quilt backing. Trim to the same size as the quilt backing if it isn’t already.
Lay your quilt top on your quilt batting, with right side up. Tack onto the boards in the same manner as you did the backing, folding it over about 1/2” as needed on the edges.
Tip #6
Check to make sure everything is tight and flat. If everything looks satisfactory, you can begin quilting!
When you have quilted everything in reach, you can take the clamps off of one side and “roll” the board underneath a few times. This will enable you to reach the next section of the quilt.
When you are all finished quilting, it’s a good idea to look under the quilt to make sure you didn’t miss anything. It also looks pretty cool to see everything you did so far.
If you are hand quilting, use these suggestions for using quilting frames.